
If you’ve ever gotten a quote for professional window cleaning and thought, “Wait…that much?” — you’re not alone. I’ve had that same reaction standing in my driveway, doing quick math in my head.
DIY Window Cleaning Savings Calculator
See what you might pay for professional window cleaning compared to cost of supplies to do it yourself.
Home and DIY details
Estimated DIY savings
This compares a rough professional cleaning estimate with the user’s estimated DIY supply and equipment costs.
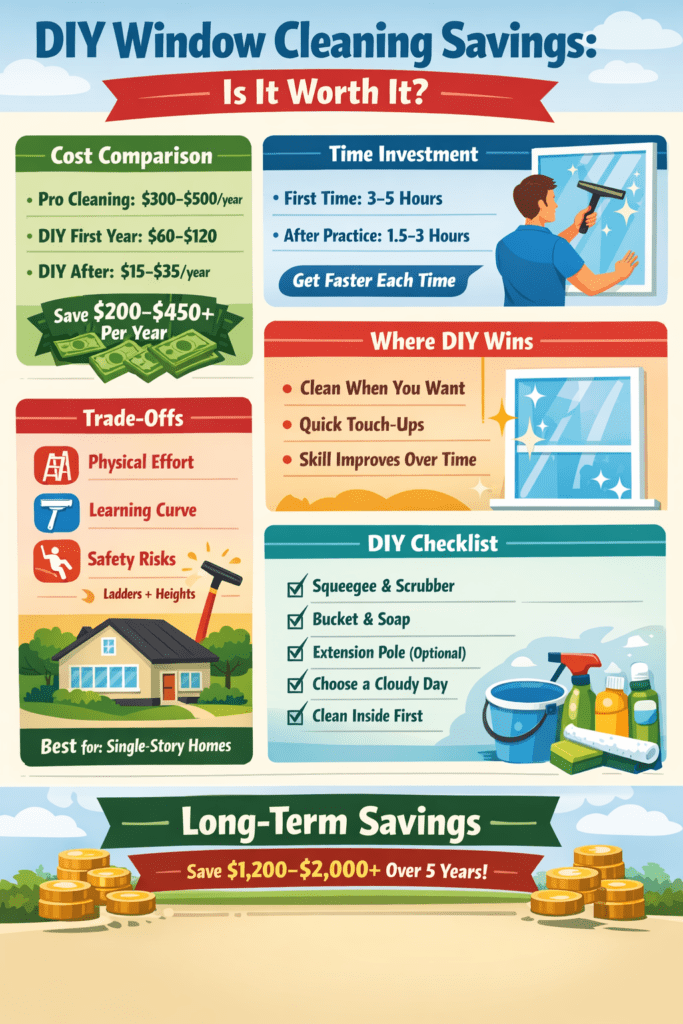
Here’s the honest truth: cleaning your own windows can save you a meaningful amount of money, but only if you approach it the right way. Done poorly, it turns into streaks, frustration, and wasted time. Done well, it becomes one of the highest ROI home maintenance tasks you can take on.
Let’s break it down realistically—numbers, trade-offs, and what you should expect.
How Much Do Professionals Charge?
Typical pricing for residential window cleaning:
- $5–$10 per pane (inside & outside)
- $150–$300 for an average home (15–25 windows)
- $300–$600+ for larger or multi-story homes
If you clean your windows 2–3 times per year, you’re looking at:
👉 $300 to $900 annually
That’s the baseline you’re comparing against.
What Does DIY Cost?
Here’s where things get interesting.
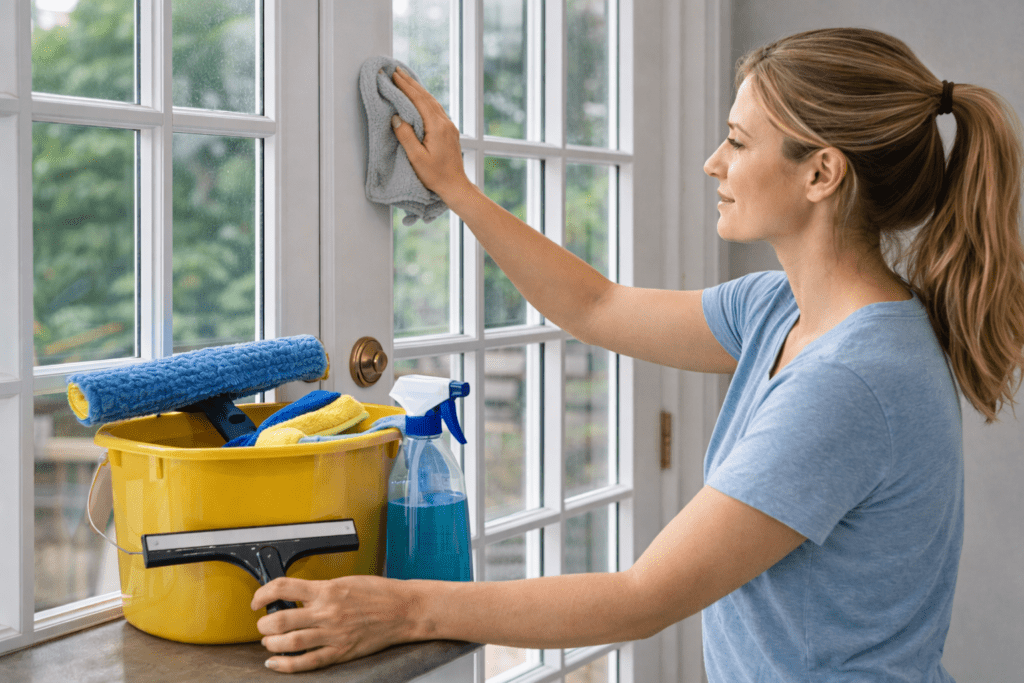
Upfront DIY Costs (One-Time Setup)
A solid beginner setup typically includes:
- Squeegee (professional-grade)
- Microfiber scrubber
- Bucket
- Extension pole (optional but highly recommended)
- Cleaning solution
Estimated cost:
👉 $40 to $120 total
If you want a more complete kit, you’ll find curated setups here:
Ongoing Costs
- Replacement microfiber sleeves: ~$10–$20/year
- Cleaning solution: ~$5–$15/year
👉 Total annual cost after setup: $15–$35
Real Savings Breakdown
Let’s keep this practical.
Scenario: Average Home (20 windows)
| Category | Cost |
|---|---|
| Professional cleaning (2x/year) | $300–$500 |
| DIY first year | $60–$120 |
| DIY following years | $15–$35 |
Year 1 Savings:
👉 ~$200–$400 saved
Every Year After:
👉 ~$250–$450 saved
Over 5 years?
👉 $1,200 to $2,000+ saved
That’s not small. That’s a real budget lever.
Time Investment (Be Honest With Yourself)
This is where people either stick with DIY—or quit.
Time to Complete
- First-time cleaning: 3–5 hours
- After learning the process: 1.5–3 hours
If you follow a streamlined method like this:
You’ll cut your time almost in half after a few rounds.
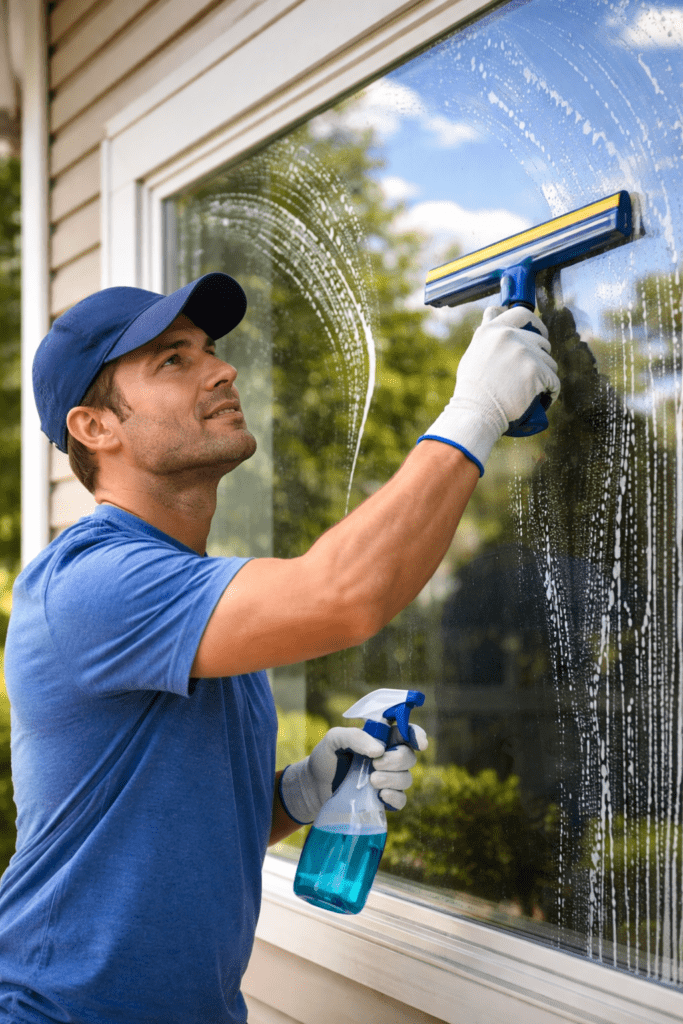
Where DIY Really Wins
1. Control Over Frequency
You don’t wait for a scheduled service—you clean when it actually looks dirty.
2. Spot Cleaning
You can quickly touch up problem areas (sliding doors, kitchen windows) in minutes.
3. Long-Term Savings
This is one of the few home tasks where skill compounds. The better you get, the faster and easier it becomes.
The Trade-Offs (Don’t Ignore These)
Let’s be real—DIY isn’t perfect.
❌ Physical Effort
Reaching high windows, bending, and repetitive motion can get tiring.
❌ Learning Curve
The first time? Expect streaks. That’s normal.
❌ Safety Risks
Ladders + second-story windows = risk.
If your home has difficult access, you may want to outsource those specific areas.
When DIY Makes the Most Sense
You’ll get the best return if:
✔ You have a single-story home
✔ You’re okay investing 2–3 hours occasionally
✔ You like practical, repeatable routines
✔ You want to reduce ongoing expenses
Product Recommendations (Keep It Simple)
You don’t need a huge setup. Focus on tools that make the biggest difference:
- Beginner kit:
https://www.windowcleankits.com/window-cleaning-kits/ - Extension poles for safer reach:
https://www.windowcleankits.com/window-washing-water-fed-pole/ - Track cleaning tools (often overlooked):
https://www.windowcleankits.com/how-to-clean-sliding-door-tracks/

Printable Checklist: DIY Window Cleaning Setup
Basic Setup
- 10–14” squeegee
- Microfiber scrubber
- Bucket
- Dish soap or glass cleaner
- Dry microfiber towels
Optional Upgrades
- Extension pole
- Razor scraper (for stuck debris)
- Spray bottle
Before You Start
- Choose a cloudy day (avoids streaks)
- Remove loose dirt first
- Start with inside windows
Frequently Asked Questions

Is DIY window cleaning actually as good as professional cleaning?
It can be. The difference comes down to technique, not equipment. Once you learn proper squeegee use, results are nearly identical.
How long does it take to get good at it?
Usually 2–3 cleaning sessions. After that, it becomes routine.
What’s the biggest mistake beginners make?
Using too much soap and not drying edges properly—this causes streaks.
Do I need special cleaning solutions?
No. A small amount of dish soap in water works extremely well.
Is it worth it for multi-story homes?
Partially. Many people DIY the ground level and hire out the upper level for safety.
Realistic Expectations (This Matters)
The first time you do this, you’ll probably think:
“Why didn’t I just pay someone?”
The second or third time?
“This is actually pretty easy.”
That’s the turning point.
Once you cross that learning curve, the time drops, the results improve, and the savings become obvious.
Resources for More Information
🧼 International Window Cleaning Association (IWCA) – Best Practices
👉 IWCA Window Cleaning Resources & Guidance
🪜 U.S. Consumer Product Safety Commission – Ladder Safety Guidelines
👉 CPSC Ladder Safety Tips (OnSafety)
🧽 Family Handyman – DIY Window Cleaning Techniques
👉 How to Wash Windows (Family Handyman Guide)
Final Take
If you’re looking for a high-return, low-cost home task, cleaning your own windows is hard to beat.
- You’ll save hundreds per year
- You’ll gain a repeatable skill
- You’ll have full control over results
But you have to be willing to push through the first couple of imperfect attempts. If you do that, this becomes one of those rare wins where effort directly translates into money saved—every single year.